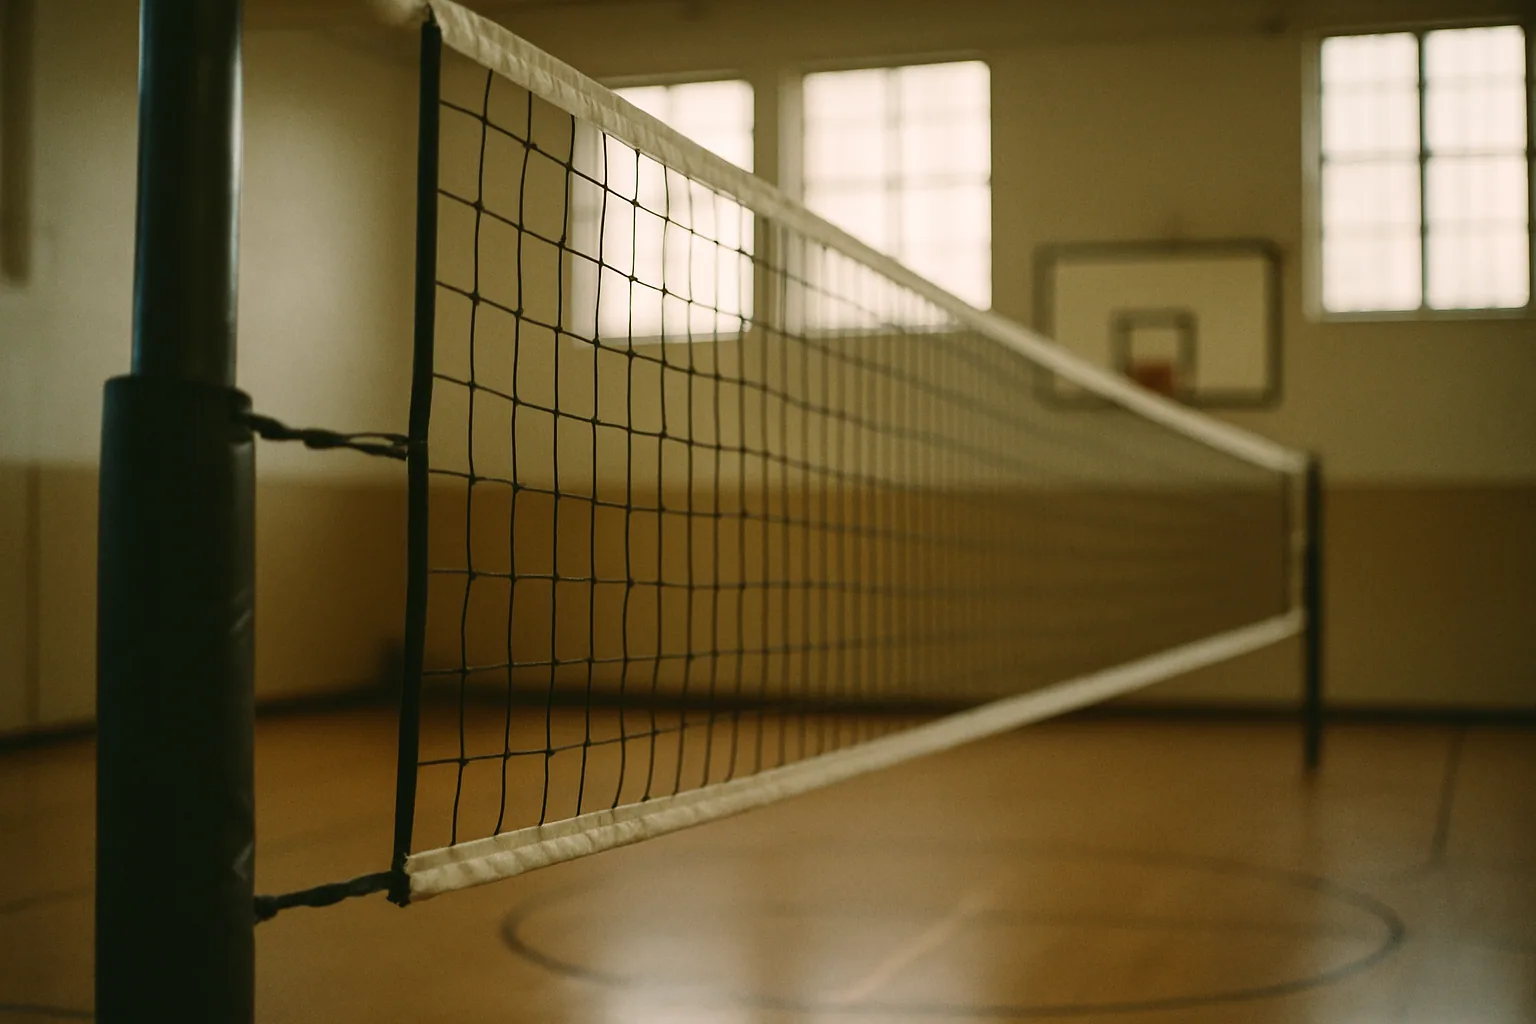
Start every new server about 10 feet from the net, not on the end line, and drill the toss before you ever add a swing. The three drills that earn their spot in every practice are toss-and-drop, target serving, and serve-and-chase. Younger kids stay underhand until their coordination catches up; overhand comes later, once contact and footwork are reliable.
This post contains affiliate links. We make a small amount when you buy through them. We only recommend products we use ourselves.
TL;DR:
- Focusing on toss consistency before full swings significantly reduces net serves in youth volleyball, especially for players under age 10.
- Starting servers near the three-meter line and gradually increasing distance only after consistent success helps prevent shoulder overuse injuries.
- Prioritizing toss-and-drop and target drills builds contact accuracy and placement, which are more crucial than power at early skill levels.
- Coaches should limit the number of corrective cues per turn to avoid overwhelming young players and to accelerate mastery.
- Incorporating rest days, shoulder variety, and gradual volume increase is essential to protecting developing shoulders from overuse injuries.
Table of Contents
- The Best Youth Volleyball Serving Drills to Start With
- How Should Serving Distance and Difficulty Progress?
- What Should Coaches Check in Every Serving Motion?
- Six Serving Drills You Can Run This Week
- How Do You Organize Practice to Maximize Reps?
- How Do You Prevent Overuse Injuries While Practicing Serves?
- Where Else Can Parent-Coaches Find Practice Help?
- What Youth Serving Drills Actually Deserve Your Time
- Where to Find the Gear These Drills Actually Use
- Sources
- FAQ
The Best Youth Volleyball Serving Drills to Start With
You do not need all of these in one practice. Pick two or three based on your group’s age and skill, and rotate the rest in as they progress.
- Wall serving (ages 6-9): packs in dozens of reps without needing a partner or net; builds contact and toss memory fast.
- Toss-only drill (ages 6-14): isolates the single biggest failure point in youth serving; nobody swings until the toss lands the same spot ten times in a row.
- Target serving with hoops or cones (ages 8-12): teaches placement, not just power; turns a mechanical skill into a game.
- Serve-and-chase (ages 9-13): keeps players moving, builds conditioning, and mimics the real transition from serve to defense.
- Partner target challenge (ages 10-14): adds light competitive pressure, which is exactly what game-day serving requires.
- Timed team target game (ages 10-14): compresses reps into a countdown, which forces focus and rewards consistency over showing off.
For a broader rotation once these feel easy, Parent Coach Desk’s collection of fun youth volleyball drills has more variety to keep practice fresh.
How Should Serving Distance and Difficulty Progress?
Progression should follow the player’s success rate, not the calendar or the scoreboard. USA Volleyball’s junior-high lesson plans recommend starting servers near the 3-meter line and moving them back in steps only after they string together consistent makes.
- Start where the player can already succeed. A useful rule of thumb is to begin at the distance the child can throw a ball comfortably and confidently, not the regulation service line.
- Set a clear success threshold before moving back. Something like 8 of 10 legal serves over the net is a fair bar. Meet it, then take one step back.
- Introduce the regular ball and overhand motion gradually. Younger or newer players often do better starting with a Volley LITE or beach ball; USA Volleyball’s coaching resources suggest layering in torque and sideways serving patterns before asking for a full overhand swing.
- Add difficulty through targets, not just distance. Smaller zones, bonus points for corners, or a scoring system built around placement will challenge advanced servers without forcing them into a distance they can’t yet control.
What Should Coaches Check in Every Serving Motion?
Most bad serves trace back to one of four spots: the toss, the footwork, the contact point, or the follow-through. Diagnose in that order, because a bad toss will sabotage even perfect mechanics everywhere else.
- Toss: low and placed just in front of the hitting shoulder. Run toss-only reps until it lands in the same spot ten times running.
- Footwork: a step toward the target, with hips and shoulders rotating to generate power from torque rather than arm strength alone.
- Contact: a flat, firm palm, not a cupped hand. USA Volleyball’s own coaching notes point to flat, clean contact and a low, consistent toss as the two ingredients behind an effective float serve.
- Follow-through: the hand finishes toward the opposite hip, not stopping dead at contact.
Common faults and their one-line fixes: toss drifting behind the shoulder (“place it, don’t throw it”), a closed or cupped hand (“flat palm, like a stop sign”), and a dropped elbow (“elbow up before you swing”).
Pro Tip: Give each player exactly one correction per turn. Piling on three cues at once slows learning more than it speeds it up.
Six Serving Drills You Can Run This Week
-
Wall serving. Set players 8 to 10 feet from a wall and have them serve into a marked zone, 15 to 20 reps each. It isolates toss and contact without needing a full court, and it is the fastest way to build muscle memory before adding a net.
-
Toss-and-drop. No swing at all. Players toss and let the ball drop, checking that it lands in front of the hitting shoulder every time. Success target: 10 consistent tosses in a row before advancing. This single drill fixes more serves than any other adjustment, since a reliable toss removes the most common cause of net serves.
-
Target serving. Lay hoops or cones in the service court, scored by zone (corners worth more than the middle). Start close, add distance only after players clear a set score threshold.
-
Serve-and-chase. Each player serves, then jogs to retrieve their own ball and rotates to the back of the line. It keeps lines short and adds a light conditioning element without turning practice into a drill sergeant’s workout.
-
Partner target challenge. Pair players and have them call zones for each other before the serve. First to hit five called zones wins. This builds pressure reps in a format that still feels like a game.
-
Shoulder external rotation and release timing. For older players developing overhand power, light band work or towel-only holds train the cocking phase safely before adding resistance. Keep sets short and stop at the first sign of shoulder discomfort.
Across these six drills, the constant that matters most is the toss. Coaches who prioritize toss-only practice early in the season often help players develop cleaner serving technique faster than those who rush into full swings too soon.
How Do You Organize Practice to Maximize Reps?
Long lines waiting for one net kill more serving development than any technical flaw. Split into stations of 3 to 4 players per ball, rotating every 5 to 8 minutes.
- Use a shagger to retrieve balls when you want maximum reps in minimal time; use serve-and-chase when you want conditioning built in.
- Run a team target contest: each station tallies zone hits for 5 minutes, and the group with the most makes wins a small privilege, like picking the next warm-up game.
- Try a “must-make” progression: players can’t move back a step until they’ve earned it, which keeps struggling servers from getting stuck at a demoralizing distance.
A written practice plan template makes this rotation easy to repeat week to week without reinventing it every practice.
How Do You Prevent Overuse Injuries While Practicing Serves?
Serving is a repetitive overhead motion, and young shoulders are still developing. The American Academy of Pediatrics recommends varying activities, increasing training load gradually, and building in regular rest days to limit overuse risk.
- Warm up shoulders with light arm circles and band work before serving reps begin.
- Avoid sudden jumps in weekly serving volume; add reps gradually across a season, not all at once.
- Stop immediately and involve a parent or medical professional if a player reports sharp or persistent shoulder pain.
- The NFHS also recommends delaying early specialization and encouraging multi-sport participation to reduce overuse injury risk in young athletes.
Where Else Can Parent-Coaches Find Practice Help?
If this is your first season running practices solo, Parent Coach Desk’s first season of youth volleyball guide walks through what a typical week looks like. Pair it with the practice plan template and the volleyball gear list by age for equipment sizing. These three resources cover planning, drilling, and gear, which is most of what a new parent-coach needs before week one.
What Youth Serving Drills Actually Deserve Your Time
Most youth serving advice treats every drill as equally valuable, and that is where coaches waste practice time. The research and lesson plans behind this article point to one clear priority: the toss matters more than anything else in the motion, and most programs undercoach it.
Coaches love to jump straight to full serves because it looks like progress. But a kid grinding through toss-and-drop reps for two weeks straight will out-serve a kid who’s been swinging at a bad toss all season. That is not intuitive to a parent watching from the sideline, and it is exactly why so many youth serves die in the net at ages 9 and 10.
The other place conventional coaching falls short is pacing shoulder work. Youth sports culture rewards visible effort, more serves, more reps, more distance, when what actually protects a young shoulder is variety and rest. If you take one thing from this article, let it be this: master the toss before the swing, and treat rest days as part of the serving program, not a break from it.
Where to Find the Gear These Drills Actually Use
None of these drills require expensive equipment, but having the right basics on hand saves you from improvising with a soccer ball at practice number three. This resource helps parent-coaches figure out what belongs in the equipment bag versus what can wait, without the guesswork of scrolling through generic sporting-goods listings.
The what to buy hub covers practice-ready basics like Volley LITE balls, cones, and hoops for target drills, plus at-home training gear for players who want extra reps between practices. If you’re also tracking technique on video to review toss consistency, the video and tracking gear guide breaks down phone mounts and simple recording setups that make it easy to spot the toss issues covered above. None of this is required to run a good practice. It’s just the difference between guessing what to buy and knowing before you shop.
Sources
- USA Volleyball: Junior High Lesson Plans
- Healthychildren
- NFHS: The double-edged sword — a guide to early sport specialization
FAQ
How Do You Teach a Kid to Serve a Volleyball?
Start with toss-only reps until the ball lands consistently in front of the hitting shoulder, then move to underhand serves from a short distance, often around the 10-foot line. Only add overhand mechanics once the underhand toss and contact are reliable.
What Are Some Fun Youth Volleyball Serving Drills?
Serve-and-chase, partner target challenges, and timed team target games turn repetitive serving practice into something kids actually look forward to. All three build real skill while keeping the energy up, which matters more with younger players than any drill’s technical polish.
What Are the 3 C’s in Volleyball?
Definitions vary by program, but coaches most commonly use the 3 C’s to mean communication, contact, and consistency, the habits that separate a reliable server from an inconsistent one. Check with your specific league or club, since the exact framework isn’t standardized nationally.
What Is the 5-3-5-3-5 Volleyball Passing Drill?
This is primarily a passing and ball-control drill rather than a serving drill, typically structured around rotating groups of five and three players through passing repetitions. If your practice plan calls for it specifically, check with your club’s coaching staff or governing body for the exact setup, since naming and structure can vary by program.
How Much Should Young Players Practice Serving Each Week?
There’s no single fixed number, but the guiding principle from the NFHS and AAP is to increase serving volume gradually rather than jumping straight into high-rep sessions. Build in rest days and vary the drills so the same shoulder motion isn’t repeated at maximum volume every single practice.