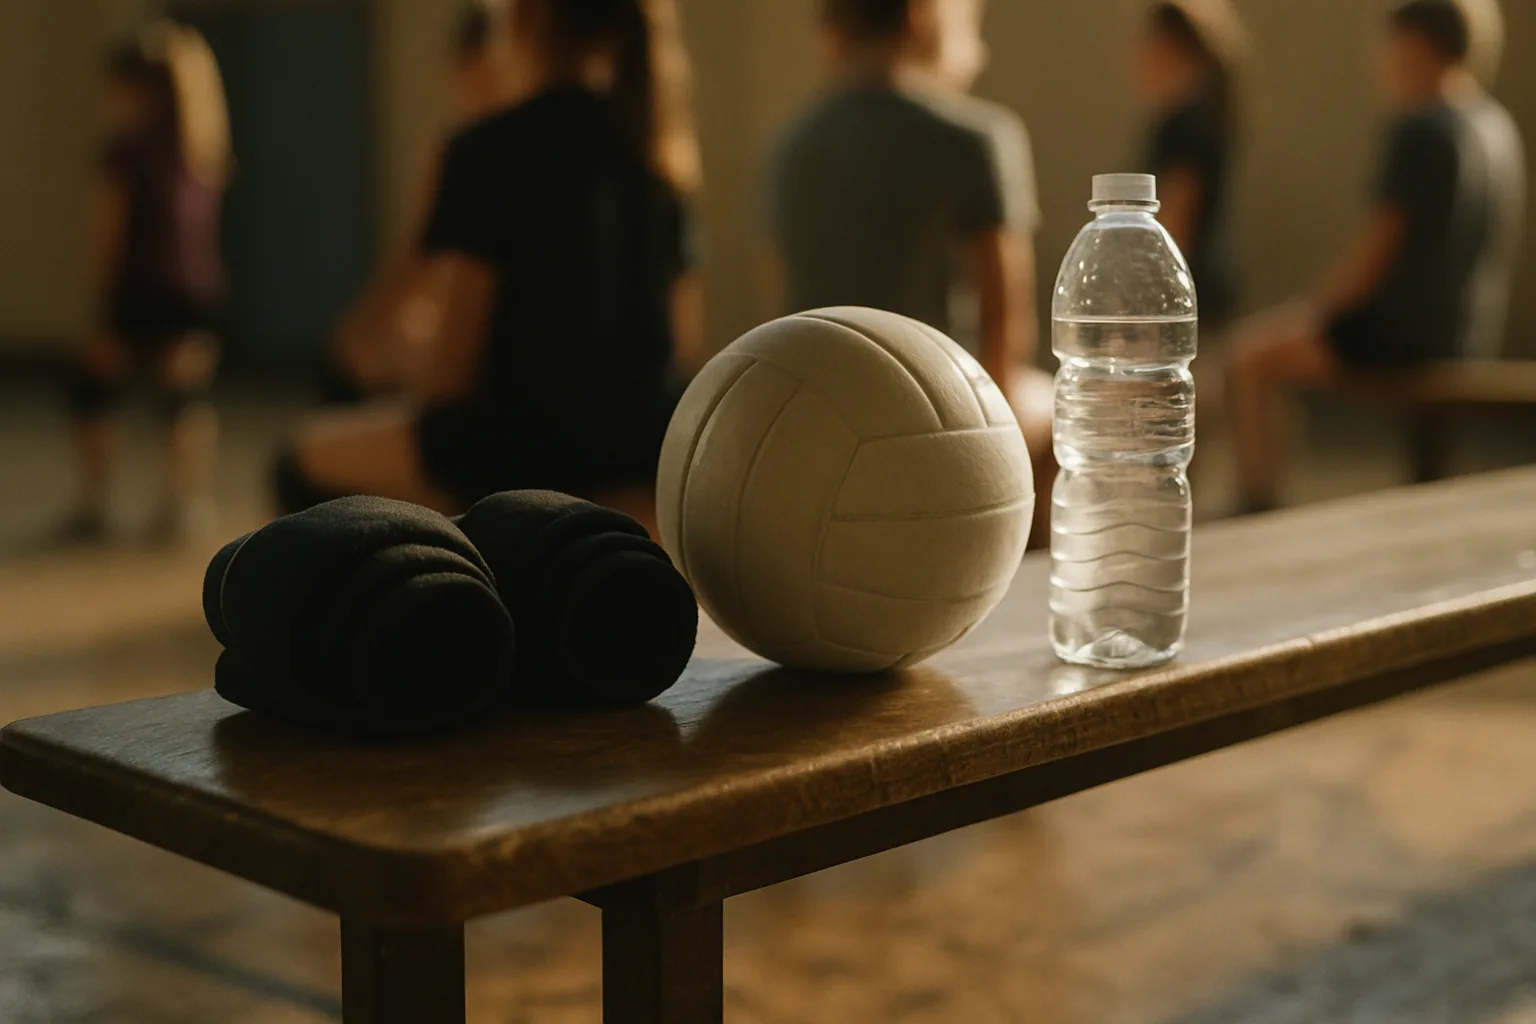
Start your next practice with these three drills and you’ll cover the two things that matter most for beginners: getting comfortable with the ball and moving their feet. Pepper (two players, continuous pass-set-hit), Serve and Shag (solo serving to a target zone), and Bump Circle (small group, keep the ball in the air) give every player immediate ball contact, require almost no setup, and work for ages 8 and up.
This post contains affiliate links. We make a small amount when you buy through them. We only recommend products we use ourselves.
Three starter drills you can run right now:
- Bump Circle | 4–6 players stand in a circle and forearm-pass to keep the ball airborne. Coaching cue: “Platform flat, step toward the ball.” Run for 3–4 minutes. No net needed.
- Serve and Shag | Each player gets 3 balls and serves underhand to a cone or taped zone on the opposite side. Coaching cue: “Toss low, swing through the ball.” Run for 5 minutes. Works solo or in pairs.
- Pepper | Two players alternate pass, set, hit (or toss-set-pass for beginners). Coaching cue: “Call the ball, move your feet first.” Run for 4–5 minutes. Scales from toss-and-catch to full contacts.
Key Takeaways
The most effective youth volleyball practice combines gamelike small-sided drills, age-appropriate ball and net choices, and a clear warm-up-to-game-like-finish sequence that maximizes every player’s ball contacts.
| Point | Details |
|---|---|
| Start with three drills | Bump Circle, Serve and Shag, and Pepper give immediate ball contact with no net required. |
| Match equipment to age | Use Volley LITE balls and low nets or rope for ages 6–12 to increase success rates and confidence. |
| Use the two-out-of-three rule | Advance players when they succeed consistently; step back when they struggle, regardless of age. |
| Track progress on a whiteboard | Count consecutive passes or serve accuracy each session so players see their own improvement. |
| Parentcoachdesk practice tools | The 60-Minute Practice Blueprint gives parent-coaches a printable, ready-to-run session template. |
Table of Contents
- What are the best youth volleyball drills by skill category?
- How do you build a 30, 45, or 60-minute youth volleyball practice?
- How should drills change as players get older?
- What equipment do you actually need for youth volleyball practice?
- Fun games and competitive finishes that keep kids coming back
- How do you measure progress without complicated record-keeping?
- Drills that build teamwork and communication skills
- A note from Parentcoachdesk
- Parentcoachdesk can help you plan practices faster
- Sources
What are the best youth volleyball drills by skill category?
Organizing your drills by skill category makes practice planning much faster. Below is a catalog you can pull from directly, with age hints and scaling options for each drill. USA Volleyball’s lesson plans consistently recommend gamelike, random-order drills over isolated repetition because they transfer better to actual match play.
Warm-up drills
Footwork Ladder (no ladder needed): Use tape lines or cones spaced 18 inches apart. Players step in and out of each “rung” with quick feet. Add a ball toss at the end of the line to connect movement to contact. Age hint: 8–14. Scale down: slow the pace and use two feet per rung. Scale up: add a direction change at the end.
Balloon Volleyball: Replace the ball with a balloon for the first 3–4 minutes. Players rally across a low rope or ribbon. It slows the game down enough for younger kids to track the ball and get under it. Age hint: 6–10.
Passing and forearm drills
Wall Passing: Each player faces a wall 4–6 feet away and forearm-passes continuously. Coaching cue: “Elbows together, arms like a shelf.” Age hint: 8–14. Scale down: let the ball bounce once. Scale up: move the player farther from the wall.
Partner Passing: Two players 10–15 feet apart pass back and forth. Count consecutive passes without a drop. The USYVL Curriculum Handbook includes catch-and-toss progressions before full forearm passing for younger groups. Age hint: 8–14. Scale down: catch and toss. Scale up: add a third player to create a triangle.
Triangle Passing: Three players in a triangle, 10–12 feet apart, pass in rotation. Coaching cue: “Call the ball before it arrives.” Age hint: 10–14. Scale up: add a setter in the middle.
Setting drills
Wall Setting: Player sets against a wall repeatedly, aiming for a consistent target spot. Coaching cue: “Hands form a window, push with your legs.” Age hint: 9–14. Scale down: toss and catch overhead. Scale up: set higher and farther from the wall.
Triangle Setting: Three players in a triangle, one designated setter. Passer sends to setter, setter delivers to the third player. Rotate roles every 10 contacts. Age hint: 10–14.
Serving drills
Target Serving: Lay two hula hoops or mark two zones on the opposite court. Players serve underhand (or overhand for older groups) aiming for the zones. Coaching cue: “Pick your spot before you toss.” Age hint: 8–14. Scale down: shorten the serving distance. Scale up: require overhand serve.
Partner Serving: One player serves, the partner receives and calls out the zone it landed in. Builds communication alongside serving accuracy. Age hint: 10–14.
Hitting and attack drills
Statue Spiking: Player stands at the net, tosses the ball to themselves, and contacts it downward over a low net or rope. No approach needed. The USYVL curriculum uses this drill specifically to introduce spiking mechanics before footwork is added. Age hint: 9–12. Scale up: add a two-step approach.
Approach and Hit: Toss from coach, player runs a two-step or three-step approach and contacts the ball. Coaching cue: “Arm swing starts from the shoulder, not the elbow.” Age hint: 11–14. Scale down: toss lower and use a Volley LITE ball.
Defensive movement and digging
Shuffle and Dig: Player starts at center back, coach points left or right, player shuffles and digs a tossed ball. Coaching cue: “Stay low, weight on your toes.” Age hint: 10–14. Scale down: slow the toss and reduce distance.
Dive and Recover: On a soft surface or gym floor, players practice a controlled sprawl to dig a low ball, then recover to ready position. Age hint: 12–14. Safety note: always check the floor surface before this drill.
Game-like small-sided drills
1v1 Over the Net: One player per side, rally across a low net or rope. Every contact counts. Small-sided formats maximize touches and keep every player active. Age hint: 8–14.
2v2 Wash Drill: Two players per side. Coach tosses a ball to start each rally. If one side wins two rallies in a row, they score a point. Coaching cue: “Talk to your partner before every play.” Age hint: 10–14.
How do you build a 30, 45, or 60-minute youth volleyball practice?
The sequencing rule is simple: warm-up first, skill work second, game-like contact third, cool-down last. USA Volleyball’s junior-high lesson plans follow this exact arc and include triangle setting, partner serving progressions, and short competitive finishes within a 50-minute window.
30-minute practice template
- Warm-up (5 min): Footwork ladder or Balloon Volleyball.
- Skill station (10 min): Partner Passing or Wall Setting, rotating partners every 3 minutes.
- Game-like drill (10 min): 1v1 Over the Net or Bump Circle.
- Cool-down (5 min): Light stretching, one team huddle, one positive observation per player.
45-minute practice template
- Warm-up (7 min): Footwork Ladder plus Bump Circle.
- Skill station 1 (10 min): Triangle Passing with coaching cues.
- Skill station 2 (10 min): Target Serving or Statue Spiking.
- Game-like drill (12 min): 2v2 Wash Drill or Pepper.
- Cool-down (6 min): Stretch, whiteboard recap, one goal for next session.
60-minute practice template
- Warm-up (8 min): Footwork Ladder, then Balloon Volleyball or Bump Circle.
- Skill station 1 (12 min): Partner Passing progressing to Triangle Passing.
- Skill station 2 (12 min): Setting wall work, then Triangle Setting.
- Skill station 3 (10 min): Target Serving or Approach and Hit.
- Game-like drill (12 min): 2v2 Wash Drill or 3v3 mini-game.
- Cool-down (6 min): Stretch, whiteboard score review, team cheer.
For a ready-to-print version of the 60-minute structure, the 60-Minute Practice Blueprint at Parentcoachdesk walks through each block with timing cues and rotation notes.
Station-rotation checklist:
- Set up cones or tape markers before players arrive.
- Assign one adult or older player to each station when possible.
- Aim for no more than 4–5 players per station to keep contacts high.
- Post the rotation order on a whiteboard or phone so transitions take under 60 seconds.
- Keep a ball cart or bag at each station so no time is lost retrieving balls.
How should drills change as players get older?
USA Volleyball’s NTDP guidelines are clear: formal volleyball training typically begins around ages 10–12. For ages 4–7, the priority is general athletic coordination, fun games, and social development, not structured drills. The Volleyball Canada Development Matrix maps this into three stages: FUNdamentals (roughly ages 6–9), Learn to Train (9–12), and Train to Train (12–16), each with distinct coaching priorities.
| Age Group | Primary Priorities | Example Drills | How to Scale |
|---|---|---|---|
| 6–9 (FUNdamentals) | Motor coordination, fun, social play | Balloon Volleyball, Bump Circle | Use balloons or beach balls; no net required |
| 9–12 (Learn to Train) | Forearm passing, underhand serve, basic setting | Partner Passing, Target Serving, Statue Spiking | Lower net height; use Volley LITE balls |
| 12–14 (Train to Train) | Overhand serve, approach hitting, 3-contact patterns | Triangle Passing, 2v2 Wash, Approach and Hit | Full-size ball; add defensive positioning |
Readiness matters more than age. USA Volleyball’s “two-out-of-three” guideline suggests moving a player to a harder progression when they succeed consistently, and stepping back when they struggle. A 10-year-old who can’t yet control a forearm pass needs catch-and-toss progressions, not a hitting drill.
Experienced youth coaches, as Wendy LeBolt notes, recommend rotating players through all positions and avoiding early specialization. A kid who only ever plays setter at age 10 misses the athletic foundation that makes them a better setter at 15.
Pro Tip: When a drill feels too easy for your group, add a constraint rather than switching drills entirely. Require a call (“mine!”) before every contact, or reduce the number of allowed bounces. Constraints raise the challenge without losing the repetition you’ve already built.
For younger groups, the 8–10 practice guide at Parentcoachdesk shows how to structure a session around movement and fun before formal skill work begins.
What equipment do you actually need for youth volleyball practice?
Not much. A rope or ribbon strung between two poles or chairs works as a net for most drills. USA Volleyball’s junior-high lesson plans specifically list ribbon, rope, and badminton nets as acceptable substitutes, and recommend Volley LITE balls for beginners because they are lighter, softer, and easier to control than a regulation volleyball.
Ball choices by age:
- Ages 6–9: beach ball or balloon for warm-ups; Volley LITE for passing drills.
- Ages 9–12: Volley LITE or a youth-size volleyball (lighter than regulation).
- Ages 12+: a regulation volleyball for most drills; Volley LITE still useful for hitting progressions.
For a full breakdown of what to buy at each age, the youth volleyball gear guide at Parentcoachdesk covers ball sizing, net options, and what to skip.
Practice packing list:
- 6–8 volleyballs (or Volley LITE balls for younger groups)
- 8–10 cones or floor markers
- Rope, ribbon, or portable net
- Whiteboard or notepad and marker
- Water bottles (one per player minimum)
- Basic first-aid kit: bandages, ice pack, athletic tape
- Whistle
Safety checklist before every session:
- Check the floor or grass surface for wet spots, debris, or uneven ground.
- Confirm net height is appropriate (lower for younger groups).
- Brief players on the “call the ball” rule to prevent collisions.
- Know where the nearest water source and first-aid kit are located.
- Have a parent or assistant present for groups of 8 or more.
Fun games and competitive finishes that keep kids coming back
The last 10–15 minutes of practice should feel like a reward. These short games reinforce skills while keeping energy high.
Volleyball Knockout works for groups of 6–12. Each player serves from the baseline. A successful serve into the court keeps them in; a miss means one strike. Three strikes and you’re out. Kids love the pressure, and it builds serving consistency without feeling like a drill.
King/Queen of the Court is a 2v2 format where the winning pair stays on the “good” side of the net and a new pair rotates in from the other side. The goal is to hold the court for three consecutive rallies. It creates natural competition and teaches players to communicate under pressure.
Serve and Score assigns point values to different court zones (back corner = 3 points, middle = 1 point). Players track their own score on a whiteboard. Delegating the scorekeeping to players frees you to watch technique and give individual cues.
Catch-and-Set Relay works well for ages 8–11. Two teams line up on opposite sides of the net. The first player tosses the ball over, the other team catches it and tosses back. First team to 10 successful exchanges wins. It builds court awareness and communication without requiring full ball-control skills.
Pepper Tournament pairs players for a 2-minute Pepper rally. Count consecutive contacts. Post scores on the whiteboard. Run two rounds so pairs can try to beat their own score. Kids naturally push each other to improve.
Wash Game (3v3): Coach tosses a ball to start. The team that wins two rallies in a row earns a point. First to 5 points wins. This format mirrors real game pressure and rewards consistent play over lucky single points.
Serve-Receive Showdown: One player serves, three players receive on the other side. If the receiving team passes to the setter’s target zone, they score. If the serve lands in the zone untouched, the server scores. Run for 5 minutes and rotate servers.
Pro Tip: Use variable scoring to keep games developmentally honest. Award 2 points for a serve that lands in a back-court zone, but also award 1 point for a clean forearm pass regardless of where the rally ends. This rewards the skill you’re building, not just the outcome.
How do you measure progress without complicated record-keeping?
You don’t need a spreadsheet. A whiteboard and a simple counting system tell you almost everything you need to know about whether your group is improving.
| Metric | How to Measure | Sample Target |
|---|---|---|
| Consecutive passes (partner) | Count aloud during Partner Passing | 10 in a row for ages 10–12 |
| Serve accuracy | Tally serves landing in target zone | 6 of 10 for underhand; 4 of 10 for overhand |
| Triangle setting streak | Count consecutive clean sets in triangle | 8 consecutive for ages 11–13 |
| Touches per player (1v1) | Count total contacts in a 3-minute rally | 15+ contacts per player |
| Wash game win rate | Track wins vs. losses over 4 weeks | Consistent improvement, not a fixed number |
Short repeated tests work better than one-time assessments. Run the same Partner Passing count at the start and end of a 4-week block and the improvement is visible to the players themselves. That visibility matters: kids who see their own progress stay motivated.
Rotating roles during drills, as the USYVL curriculum recommends, also gives you a natural readiness signal. A player who struggles when moved from passer to setter is telling you they need more foundational contact work before position-specific training.
Drills that build teamwork and communication skills
Communication is a skill, not a personality trait. It needs to be practiced as deliberately as passing or serving.
Call-Ball Passing adds one rule to any passing drill: every player must call “mine” before contacting the ball. No call means the play doesn’t count. This feels awkward at first and then becomes automatic. It directly prevents the most common youth volleyball mistake: two players watching the ball drop between them.
3-Contact Requirement: In any small-sided game, require three contacts before the ball crosses the net. No exceptions. This forces players to communicate about who sets and who hits, building the habit of working as a unit rather than going for the easy one-contact return.
Blind Setter Drill: The setter stands with their back to the net. The passer calls out “left,” “right,” or “middle” to tell the setter where to deliver the ball. It sounds simple and it is genuinely difficult. Players learn to communicate early and clearly, and setters learn to trust their teammates’ calls.
Rotation Accountability: After every side-out in a small-sided game, the team must rotate and call out their new positions before the next serve. Coaches who skip this step often find that players at 13 and 14 still don’t know where to stand. Building the habit at 9 or 10 costs almost nothing.
Partner Serve-Receive with Feedback: After each serve-receive, the receiving player tells their partner one thing: “too short,” “perfect,” or “too wide.” It teaches players to observe and communicate rather than just react. The volleyball hub at Parentcoachdesk covers how to build communication habits into practice from the first session.
For older groups (ages 12–14), adding reactive strength and coordination work between drill blocks can sharpen the quick decision-making that good team communication depends on.
A note from Parentcoachdesk
Coaching your own kid through a sport you’re still learning yourself is one of the more humbling experiences in youth sports. At Parentcoachdesk, we build resources specifically for that situation: not the elite club coach, but the parent who volunteered on a Tuesday and now has 12 kids showing up Saturday morning. The volleyball hub is a good starting point if you want the bigger picture on programs, gear, and what to expect at each age. If you’re coaching a younger group, the 8–10 practice guide gives you a session structure that keeps kids engaged without overwhelming them or you.
Parentcoachdesk can help you plan practices faster
Running a youth volleyball practice with limited time and no formal coaching background is genuinely hard. Parentcoachdesk gives you the practical scaffolding to make it easier: ready-to-use session structures, age-specific drill progressions, and communication tools built for parents, not professional coaches.
The 60-Minute Practice Blueprint is a printable, plug-and-play session template you can hand to an assistant or tape to your clipboard. It covers warm-up through cool-down with timing cues and rotation notes already built in. If you’re new to the site, start here for a full overview of what Parentcoachdesk offers parents who coach. Sign up for the weekly newsletter and you’ll get practice tips, drill ideas, and parent-coach scripts delivered directly to your inbox every week.
Sources
- USYVL Curriculum Handbook — USYVL (PDF)
- Volleyball Development Matrix — Volleyball Canada
- How to Develop the Volleyball Athlete: Focus changes with age and stage — Wendy LeBolt