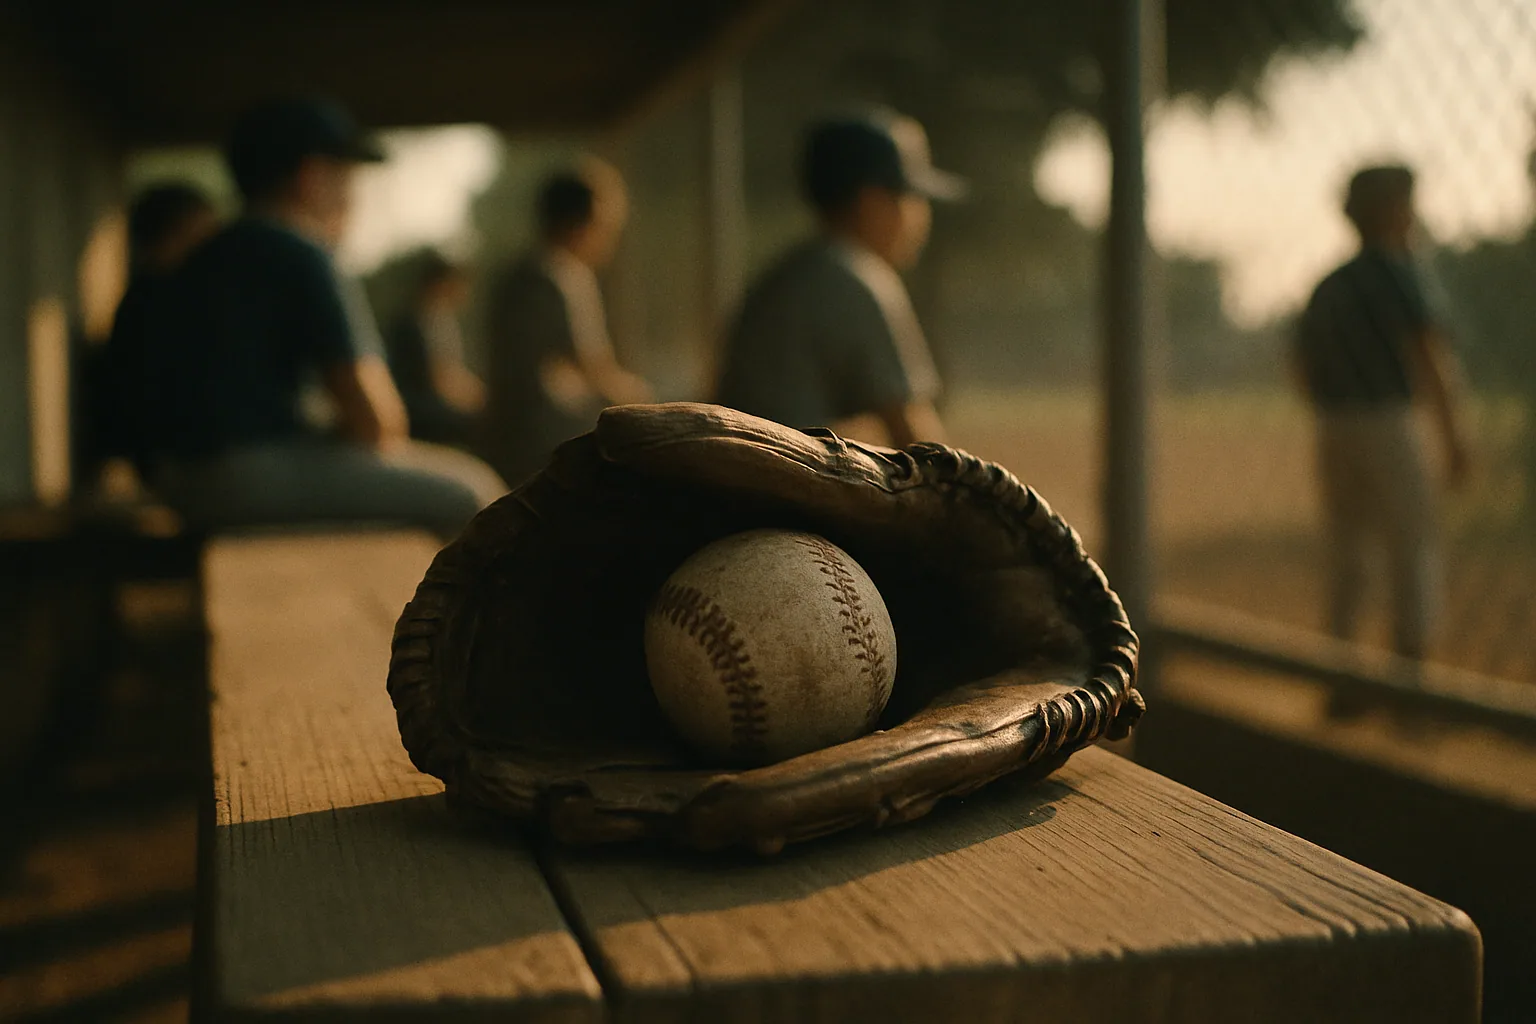
The best baseball throwing drill picks depend on what you’re fixing: use a quick game of catch to warm up, accuracy target throws to sharpen precision, the one-knee drill to isolate arm slot, crow-hop long toss to build distance safely, and knee or split-step throws to groove trunk rotation. Each one targets a different piece of the puzzle, so rotating through several in one practice covers more ground than repeating one drill for 20 minutes.
Before any of that, know the safety baseline. USA Baseball and MLB’s Pitch Smart program sets age-specific pitch counts and rest days, and the American Sports Medicine Institute (ASMI) recommends several months of no competitive pitching every year for young arms. Parentcoachdesk built this guide as a practical companion for parents running practice, not a substitute for a certified coach.
- Quick game of catch: general warm-up and rhythm
- Accuracy target throws: precision and release control
- One-knee drill: isolates arm slot, removes leg drive
- Crow-hop / long toss: builds arm strength and distance progressively
- Throwing from knees or split-step: teaches trunk sequencing
- Bullseye or partner-target games: makes accuracy fun for younger kids
Safety flag: ASMI and Pitch Smart both point to overuse, not mechanics alone, as the leading driver of youth arm injuries. Rest days matter as much as reps.
Key Takeaways
Youth throwing improvement depends on rotating targeted drills, tracking pitch counts, and building in seasonal rest, not on maximizing daily reps.
| Point | Details |
|---|---|
| Match drill to goal | Use one-knee throws for arm slot, crow-hop long toss for distance, and target throws for accuracy. |
| Track pitch counts | Follow Pitch Smart’s age-based limits and rest-day schedule for every throwing session. |
| Rest 3 to 4 months yearly | ASMI recommends this break from competitive pitching to protect growing arms. |
| Fix one fault at a time | Watch for arming the ball, closed front side, and dropped elbow, then apply a single cue. |
| Use Parentcoachdesk for planning | Its 60-Minute Practice Blueprint turns these drills into a ready-to-run session. |
Table of Contents
- Eight Baseball Throwing Drills You Can Run This Week
- Warm-Up and Arm-Care Checklist for Practice
- Fixing the Five Most Common Throwing Mistakes
- Teaching Throwing by Age: 6 to 14
- A Parent Coach’s Honest Take on Balancing Reps and Rest
- Plan Your Whole Season, Not Just One Practice
- Frequently Asked Questions
- Sources
Eight Baseball Throwing Drills You Can Run This Week
Every drill below fits into a single practice window. Pick three or four based on what your team needs most that day, rather than running all eight back to back.
- Quick catch: raises heart rate and grooves basic rhythm before anything harder.
- One-knee throws: isolates the arm and shoulder to fix arm slot problems.
- Accuracy target throws: builds precision using a bucket, cone, or partner’s glove as the target.
- Crow-hop long toss: teaches footwork and gradually extends throwing distance.
- Split-step throws: connects the lower body to the throw, useful for infielders.
- Wall bounce-back drill: solo option for kids without a throwing partner.
- Partner mirror drill: two players copy each other’s arm action to build body awareness.
- Bullseye game: turns target practice into a scoring contest for younger kids.
Quick catch. Set up two players 20 to 40 feet apart depending on age (younger players closer). Have them throw 15 to 20 relaxed reps focusing on a soft glove-hand catch and a full arm circle on the throw. Coaching cues: “glove up to show a target” and “step toward your partner, not sideways.” Progression: add a slight backward step each set of five throws to build distance gradually.
One-knee throws. The thrower kneels on their throwing-side knee, front leg bent, and throws to a partner 15 to 20 feet away for 10 reps. This removes leg drive so the arm and shoulder do the work correctly. Cues: “lead with your elbow” and “finish with your throwing hand near your opposite knee.” This drill directly targets arm-slot problems described later in this guide.
Accuracy target throws. Set a bucket, cone, or taped square on a fence 20 to 30 feet away. Kids get 10 throws each, tracking how many hit the target. Cues: “pick a small spot, not the whole target” and “follow through toward where you’re aiming.” Track progress by recording hits out of 10 each week; a jump from 4/10 to 7/10 over a month is a real, measurable win.
Crow-hop long toss. Following the ASMI Interval Throwing Program, start at 45 feet and add 15 to 30 feet every few sessions, capping distance based on age and arm health. The crow-hop (a small skip-step before the throw) transfers energy from legs to arm. Cues: “gather your feet before the hop” and “throw on a line, not a rainbow.” Regression: shorten distance and remove the hop for beginners.
Split-step throws. Useful for infielders, this drill has players field a rolled ball then execute a quick two-foot hop before throwing 30 feet to a target. Cues: “land on both feet, then throw” and “rotate your hips before your arm.” Ten to 15 reps per session is plenty for youth players.
Wall bounce-back. A solo drill for driveway practice: throw against a wall or rebounder from 15 feet, catch the return, repeat for 20 to 30 reps. Cues: “square up before every throw” and “soft hands on the catch.”
Partner mirror drill. Two players face each other at close range and mimic each other’s arm-circle and follow-through without a ball, five slow reps each. This builds body awareness before adding a throw.
Bullseye game. Turn accuracy practice into a contest with painted rings or a hula hoop target, awarding points for the center ring. This keeps younger players engaged far longer than plain repetition.
Pro Tip: Film two or three throws per player each week on a phone. Comparing footage side by side shows mechanical changes long before scoreboard results do, and it gives quiet players a way to see their own progress.
Warm-Up and Arm-Care Checklist for Practice
A five-minute dynamic warm-up before any throwing prevents most of the soreness that shows up the next morning. Run through arm circles, leg swings, torso twists, and light jogging, then move into a few band or bodyweight shoulder activation moves drawn from the Youth Throwers Ten program.
- Dynamic warm-up: leg swings, arm circles, torso rotations (3 to 5 minutes)
- Band or bodyweight shoulder activation: external rotation and scapular squeezes
- Start throws at half distance and half effort before building up
- Track weekly pitch counts and rest days using Pitch Smart’s age charts
- Schedule 3 to 4 months of no competitive pitching every year, per ASMI guidance
Fatigue often shows up before a kid says “I’m tired.” Watch for an upright trunk instead of a forward lean, a dropped elbow below shoulder height, or throws that suddenly start missing the target. Any of those three is your cue to stop throwing for the day, not push through one more set.
Pro Tip: After a heavy throwing day, ice the shoulder or elbow for about 20 minutes, and plan a rest day before the next throwing session.
Fixing the Five Most Common Throwing Mistakes
Most young throwers share the same handful of flaws, and each one has a fast, visible fix.
- Arming the ball (throwing with just the arm, no leg drive): cue “push off your back leg,” reinforced with 10 reps of the crow-hop long toss drill above.
- Closed front side (shoulder pointing away from the target): cue “point your front shoulder at your target,” fixed with the split-step throws drill.
- Short stride: cue “take a bigger step toward your target,” worked on during quick-catch reps.
- Late trunk rotation: cue “let your hips lead, arm follows,” best corrected with 10 one-knee throws to isolate the upper body.
- Dropped elbow: cue “elbow at shoulder height before you throw,” another job for the one-knee drill since it removes the legs as a distraction.
Coaches should watch for one fault at a time rather than trying to fix all five in a single practice. Kids absorb one clear cue much faster than three at once.
Teaching Throwing by Age: 6 to 14
- Ages 6 to 8: Focus on basic catch-and-throw mechanics with short, game-like drills. Keep throws under 20 feet and sessions under 10 minutes to hold attention. Weekly goal: comfortable, relaxed grip and glove-up ready position.
- Ages 9 to 11: Introduce accuracy targets and the one-knee drill, extending distance to 30 to 45 feet. Weekly goal: hit a target 6 out of 10 times from 30 feet.
- Ages 12 to 14: Add crow-hop long toss and split-step work, building toward 60 to 90 feet based on arm health. Weekly goal: consistent mechanics at increasing distance without pain.
Hold off on breaking pitches and weighted-ball work at every age until fastball mechanics are solid and a qualified coach is involved, since ASMI’s position statement links early breaking-ball work to added injury risk in still-growing arms. For the youngest group, short and fun beats long and technical every time.
A Parent Coach’s Honest Take on Balancing Reps and Rest
Chasing arm strength and protecting a young arm feel like opposite goals, but they’re not. Three of these drills, run in short stations, fit into a 20-minute rotation without wearing anyone out. If you want the whole practice mapped out, Parentcoachdesk’s 60-Minute Practice Blueprint builds throwing work into a full session.
Plan Your Whole Season, Not Just One Practice
A great throwing drill only helps if it’s part of a season plan that respects rest days, gear that fits, and a kid who still wants to show up in July. Parentcoachdesk gives parent-coaches the templates for that bigger picture: practice plans, age-based gear lists, and workload tracking, all in one place instead of scattered across forums and old team emails.
If you’re new to coaching your own kid’s team, Start Here walks through the basics of running practice without burning out you or your player. Pair it with the 60-Minute Practice Blueprint to turn today’s drills into a full session, and check the youth baseball gear list by age before your next equipment purchase. Families building a broader collection at home might also enjoy this starter baseball card guide for young fans. Sign up for the Parentcoachdesk newsletter on the homepage for downloadable practice checklists sent straight to your inbox.
Frequently Asked Questions
What’s the best baseball throwing drill for beginners? Quick catch and one-knee throws work well for beginners because they isolate arm mechanics without demanding much distance or coordination.
How often should youth players do throwing drills? Two to three sessions a week is plenty for most youth players, with at least one full rest day between throwing sessions to let the arm recover.
How far should a 9-year-old throw during practice? Around 30 to 45 feet is a reasonable range for most 9 to 11-year-olds, building gradually per ASMI’s interval progression rather than jumping straight to long distances.
When should a young pitcher learn breaking pitches? Not until fastball mechanics are solid and a qualified coach is guiding the process, per ASMI’s position statement, since early breaking-ball work adds injury risk for still-growing arms.
Sources
- Youth Arm Care / Injury Prevention flyer (Washington Univ. / ASMI distribution)
- MLB, USA Baseball announce updates to the Pitch Smart program
- Interval Throwing Program for Baseball Pitchers (ASMI)
- Prevention of arm injury in youth baseball pitchers (PubMed review)